本文最后更新于 4 年前,文中所描述的信息可能已发生改变。
YARN实践
一、 Yarn资源调度器
常见命令
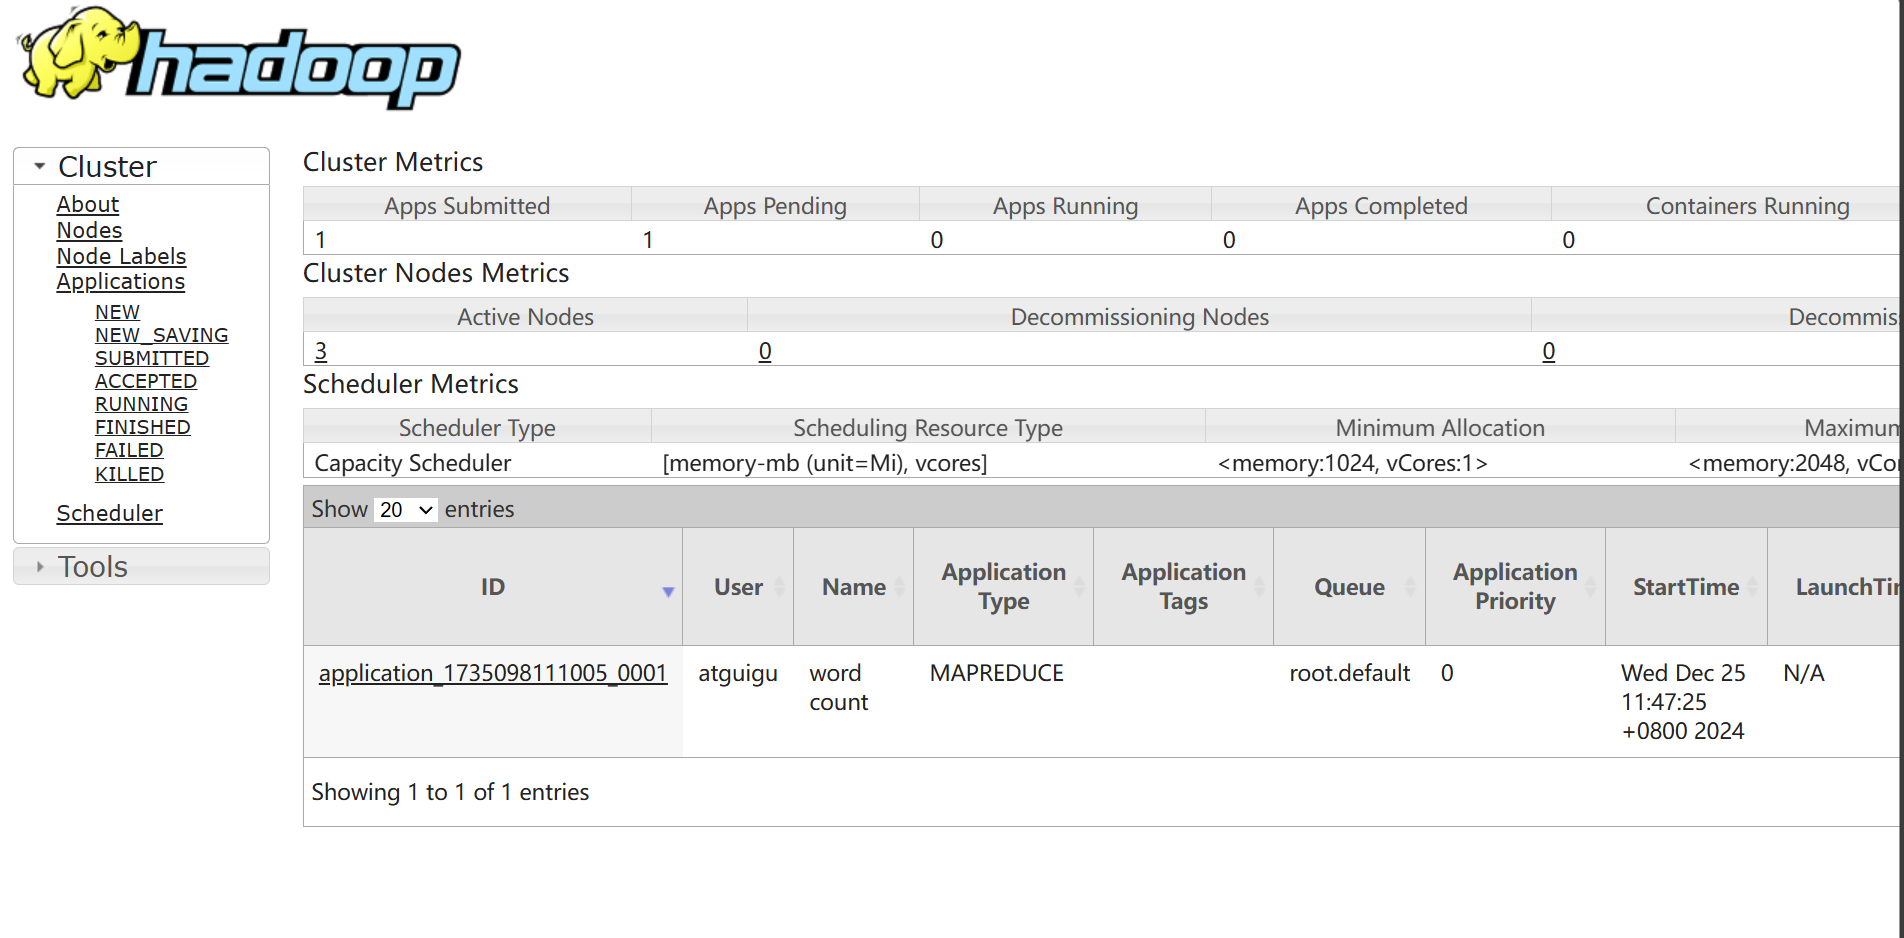
执行WordCount案例,并用Yarn命令查看任务运行情况
[atguigu@hadoop101 hadoop-3.4.1]$ myhadoop.sh start

[atguigu@hadoop101 hadoop-3.4.1]$ hadoop jar ./share/hadoop/mapreduce/hadoop-mapreduce-examples-3.4.1.jar wordcount /input /output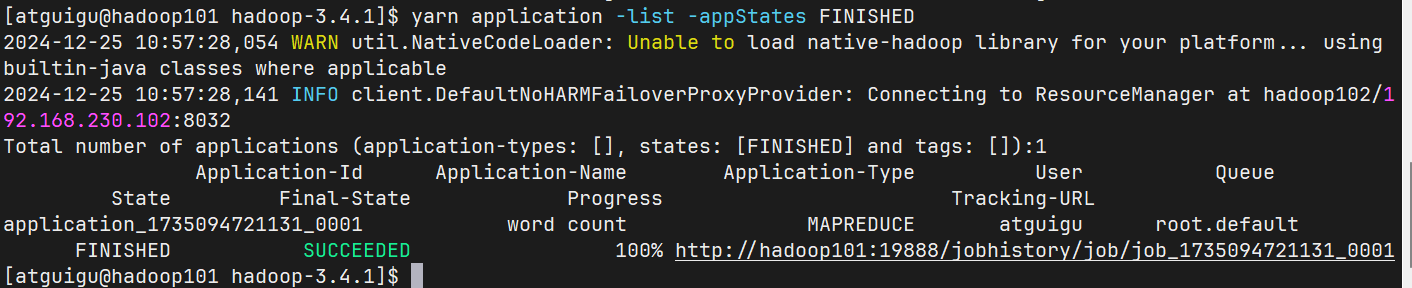
1.1 yarn application 查看任务
列出所有Application:
[atguigu@hadoop101 hadoop-3.4.1]$ yarn application -list
根据Application 状态过滤:yarn application -list -appStates (所有状态:ALL、NEW、 NEW_SAVING、SUBMITTED、ACCEPTED、RUNNING、FINISHED、FAILED、KILLED)
[atguigu@hadoop101 hadoop-3.4.1]$ yarn application -list -appStates FINISHED
Kill掉Application:
[atguigu@hadoop101 hadoop-3.4.1]$ yarn application -kill application_1735094721131_0001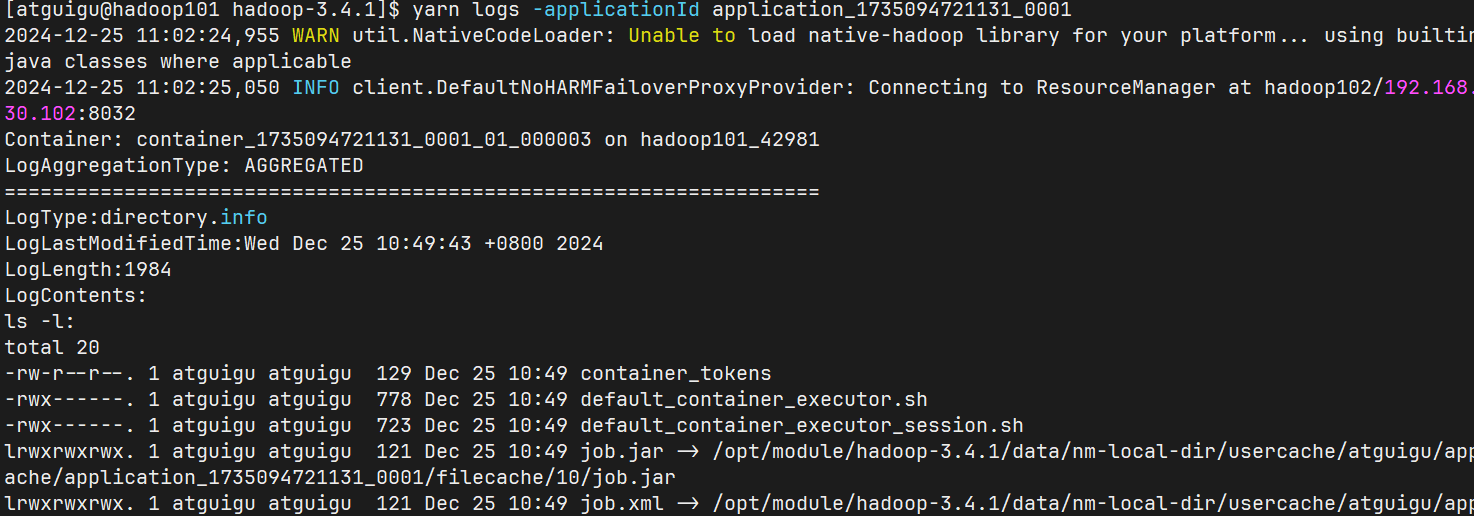
1.2 yarn logs查看日志
查询Application日志:yarn logs -applicationId
yarn logs -applicationId application_1735094721131_0001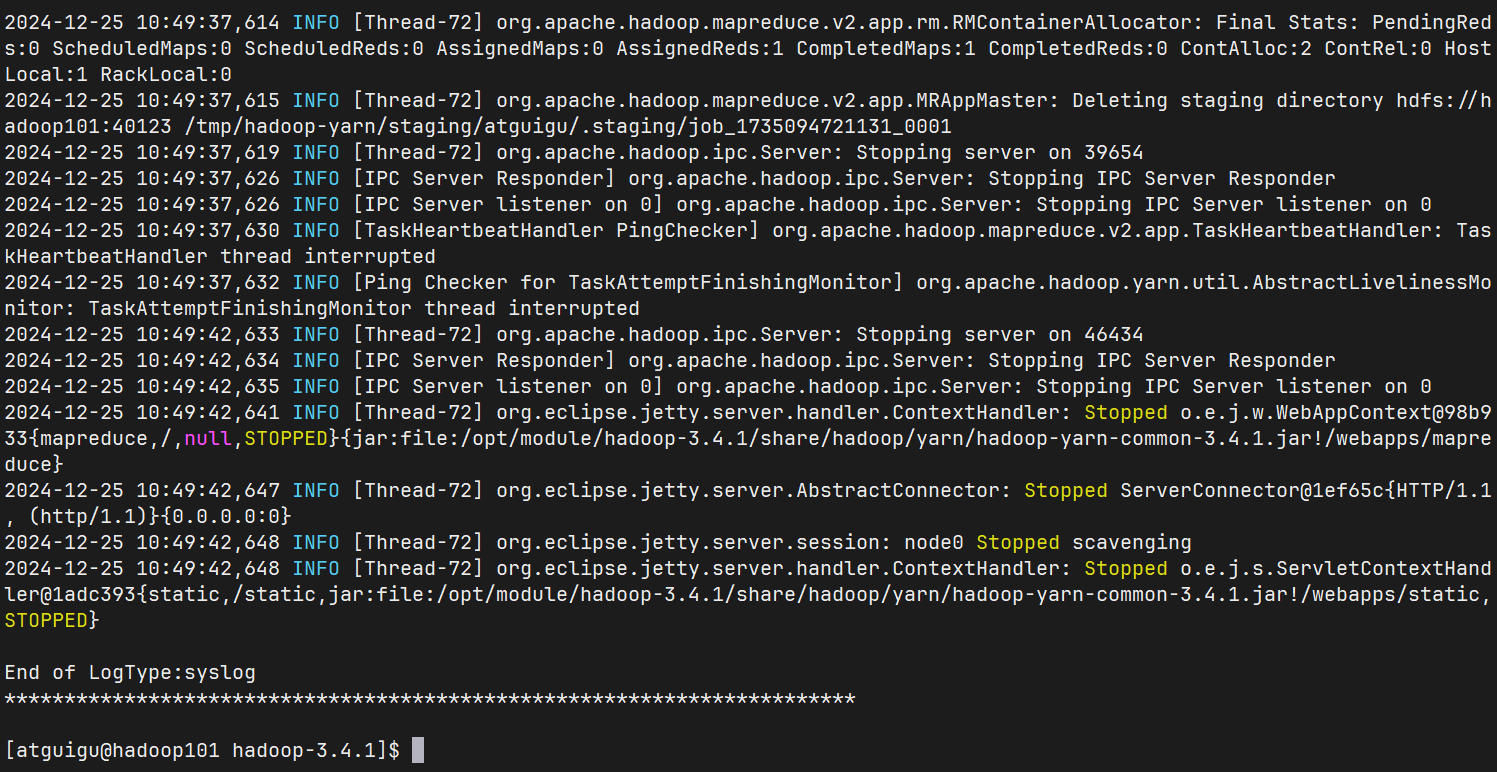
查询Container日志:yarn logs -applicationId -containerId
yarn logs -applicationId application_1735094721131_0001 -containerId container_1735094721131_0001_01_000001
1.3 yarn applicationattempt查看尝试运行的任务
列出所有Application尝试的列表:yarn applicationattempt -list
[atguigu@hadoop101 hadoop-3.4.1]$ yarn applicationattempt -list application_1735094721131_0001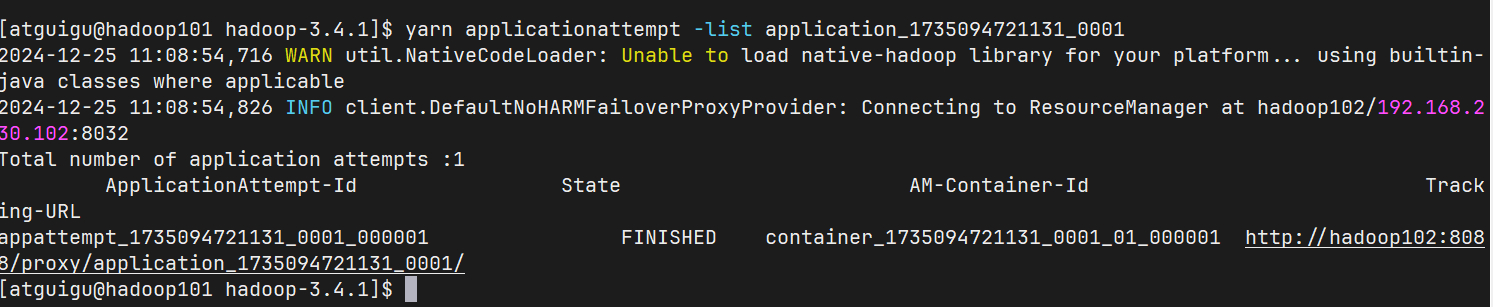
打印ApplicationAttemp状态:yarn applicationattempt -status
[atguigu@hadoop101 hadoop-3.4.1]$ yarn applicationattempt -status appattempt_1735094721131_0001_000001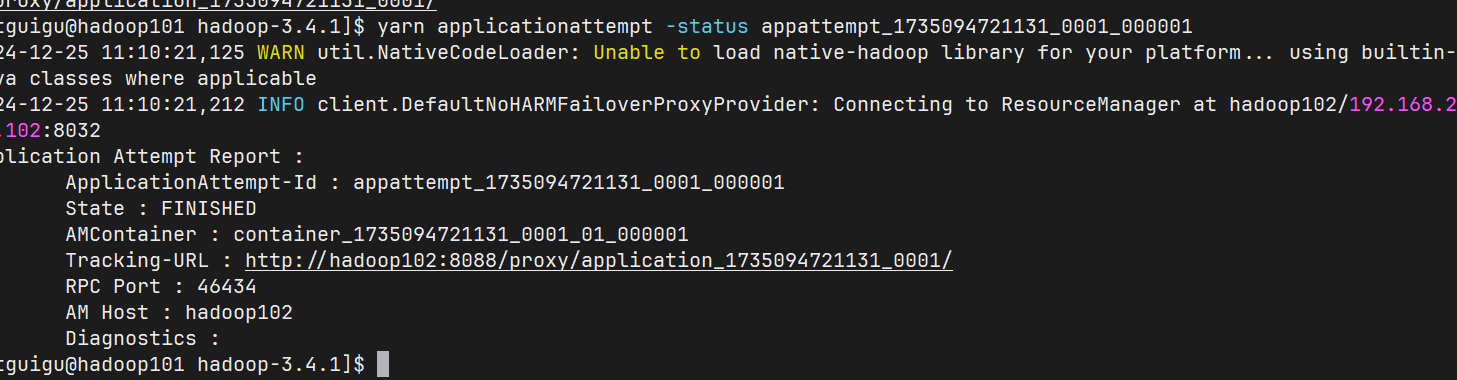
1.4 yarn container查看容器
列出所有Container:yarn container -list
yarn container -list appattempt_1735094721131_0001_000001
打印Container状态: yarn container -status
yarn container -status container_1735094721131_0001_01_000001
由于该任务没有运行所有显示不存在。
1.5 yarn node查看节点状态
列出所有节点:yarn node -list -all

1.6 yarn rmadmin更新配置
加载队列配置:yarn rmadmin -refreshQueues

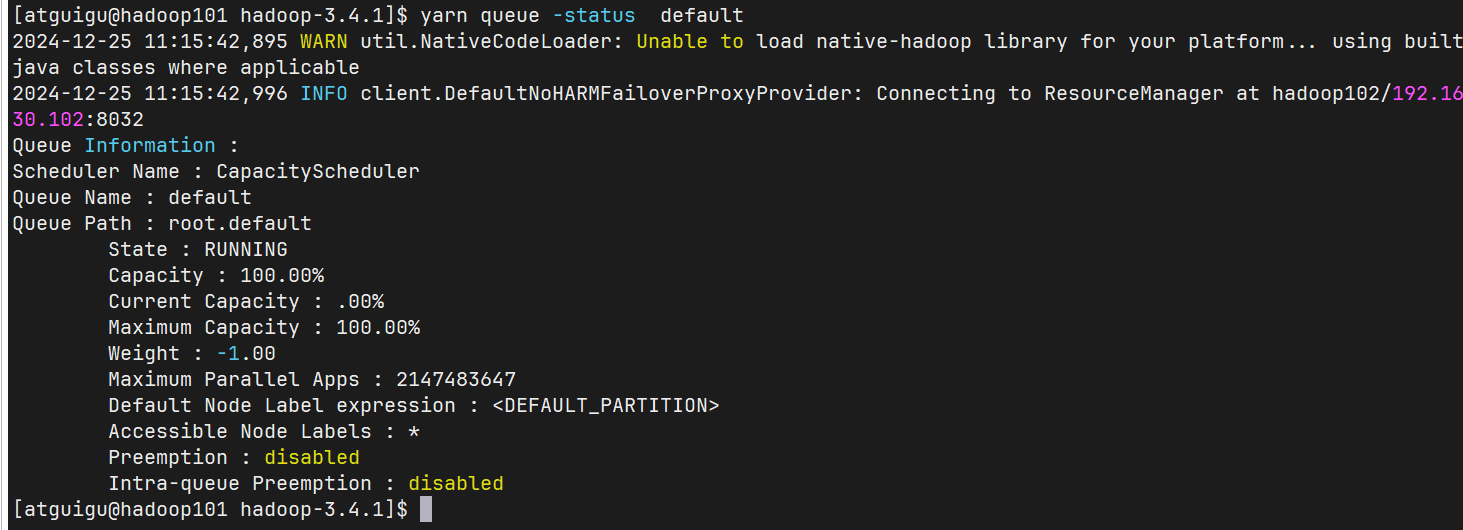
1.7 yarn queue查看队列
打印队列信息:yarn queue -status default
二、 Yarn案例实操
2.1 Yarn 生产环境核心参数配置案例
需求:从 1G 数据中,统计每个单词出现次数。服务器3台,每台配置4G内存,4核 CPU,4线程。
需求分析: 1G / 128m = 8 个 MapTask;1 个ReduceTask;1 个 mrAppMaster 平均每个节点运行10个 / 3台 ≈ 3个任务(4 3 3)
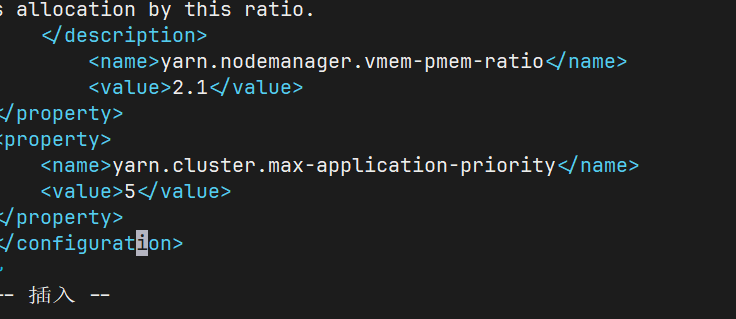
修改yarn-site.xml 配置参数如下
<!-- 选择调度器,默认容量 -->
<property>
	<description>The class to use as the resource scheduler.</description>
	<name>yarn.resourcemanager.scheduler.class</name>
	<value>org.apache.hadoop.yarn.server.resourcemanager.scheduler.capacity.CapacityScheduler</value>
</property>

<!-- ResourceManager 处理调度器请求的线程数量,默认50;如果提交的任务数大于50,可以
增加该值,但是不能超过3台 * 4线程 = 12线程(去除其他应用程序实际不能超过8) -->
<property>
	<description>Number of threads to handle scheduler interface.</description>
	<name>yarn.resourcemanager.scheduler.client.thread-count</name>
	<value>8</value>
</property>

<!-- 是否让yarn自动检测硬件进行配置,默认是false,如果该节点有很多其他应用程序,建议
手动配置。如果该节点没有其他应用程序,可以采用自动 -->
<property>
	<description>Enable auto-detection of node capabilities such as memory and CPU.
	</description>
 	<name>yarn.nodemanager.resource.detect-hardware-capabilities</name>
 	<value>false</value>
</property>

<!-- 是否将虚拟核数当作CPU核数,默认是false,采用物理CPU核数 -->
<property>
 	<description>Flag to determine if logical processors(such as hyperthreads) should be counted as cores. Only applicable on Linux when yarn.nodemanager.resource.cpu-vcores is set to -1 and yarn.nodemanager.resource.detect-hardware-capabilities is true.
 	</description>
 	<name>yarn.nodemanager.resource.count-logical-processors-as-cores</name>
 	<value>false</value>
</property>

<!-- 虚拟核数和物理核数乘数,默认是1.0 -->
<property>
 	<description>Multiplier to determine how to convert phyiscal cores to vcores. This value is used if yarn.nodemanager.resource.cpu-vcores is set to -1(which implies auto-calculate vcores) and yarn.nodemanager.resource.detect-hardware-capabilities is set to true.The number of vcores will be calculated as number of CPUs * multiplier.
 	</description>
 	<name>yarn.nodemanager.resource.pcores-vcores-multiplier</name>
 	<value>1.0</value>
</property>

<!-- NodeManager使用内存数,默认8G,修改为4G内存 -->
<property>
 	<description>Amount of physical memory, in MB, that can be allocated  for containers. If set to -1 and yarn.nodemanager.resource.detect-hardware-capabilities is true, it is automatically calculated(in case of Windows and Linux). In other cases, the default is 8192MB. </description>
 	<name>yarn.nodemanager.resource.memory-mb</name>
 	<value>4096</value>
</property>

<!-- nodemanager的CPU核数,不按照硬件环境自动设定时默认是8个,修改为4个 -->
<property>
 	<description>Number of vcores that can be allocated for containers. This is used by the RM scheduler when allocating resources for containers. This is not used to limit the number of CPUs used by YARN containers. If it is set to -1 and yarn.nodemanager.resource.detect-hardware-capabilities is true, it is automatically determined from the hardware in case of Windows and Linux. In other cases, number of vcores is 8 by default.</description>
 	<name>yarn.nodemanager.resource.cpu-vcores</name>
 	<value>4</value>
</property>

<!-- 容器最小内存,默认1G -->
<property>
 	<description>The minimum allocation for every container request at theRM in MBs. Memory requests lower than this will be set to the value of this property. Additionally, a node manager that is configured to have less memory than this value will be shut down by the resource manager.
 	</description>
 	<name>yarn.scheduler.minimum-allocation-mb</name>
 	<value>1024</value>
</property>

<!-- 容器最大内存,默认8G,修改为2G -->
<property>
 	<description>The maximum allocation for every container request at the RM in MBs. Memory requests higher than this will throw anInvalidResourceRequestException.
 	</description>
 	<name>yarn.scheduler.maximum-allocation-mb</name>
 	<value>2048</value>
</property>

<!-- 容器最小CPU核数,默认1个 -->
<property>
 	<description>The minimum allocation for every container request at the RM in terms of virtual CPU cores. Requests lower than this will be set to the value of this property. Additionally, a node manager that is configured to have fewer virtual cores than this value will be shut down by the resource manager.
 	</description>
 	<name>yarn.scheduler.minimum-allocation-vcores</name>
 	<value>1</value>
</property>

<!-- 容器最大CPU核数,默认4个,修改为2个 -->
<property>
 	<description>The maximum allocation for every container request at the RM in terms of virtual CPU cores. Requests higher than this will throw an InvalidResourceRequestException.
 	</description>
 	<name>yarn.scheduler.maximum-allocation-vcores</name>
 	<value>2</value>
</property>

<!-- 虚拟内存检查,默认打开,修改为关闭 -->
<property>
 	<description>Whether virtual memory limits will be enforced for containers.	</description>
 	<name>yarn.nodemanager.vmem-check-enabled</name>
 	<value>false</value>
</property>

<!-- 虚拟内存和物理内存设置比例,默认2.1 -->
<property>
 	<description>Ratio between virtual memory to physical memory when setting memory limits for containers. Container allocations are expressed in terms of physical memory, and virtual memory usage is allowed to exceed this allocation by this ratio.
    </description>
 	<name>yarn.nodemanager.vmem-pmem-ratio</name>
 	<value>2.1</value>
</property>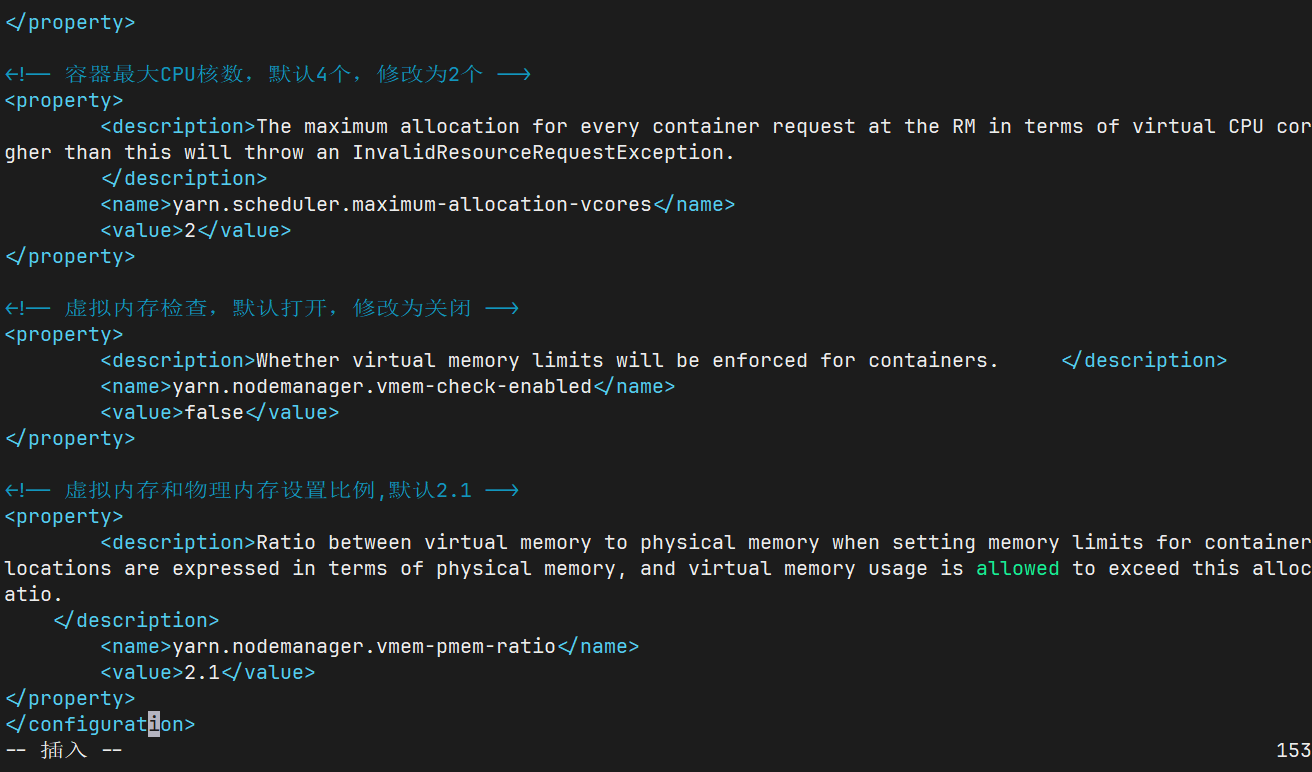
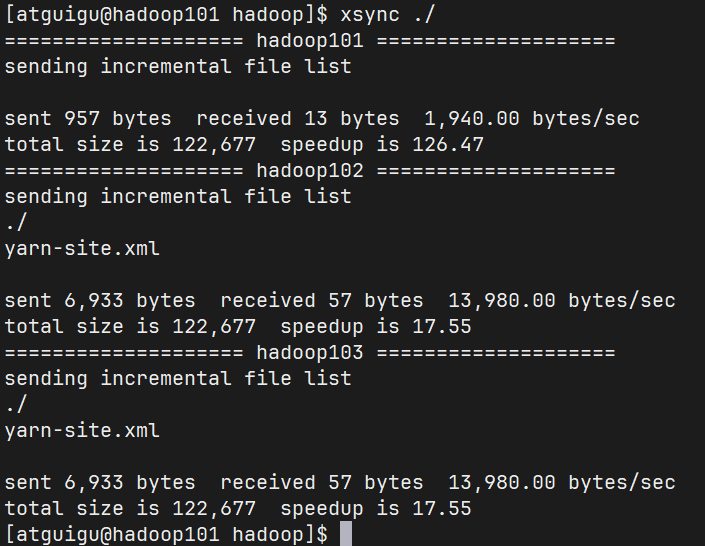
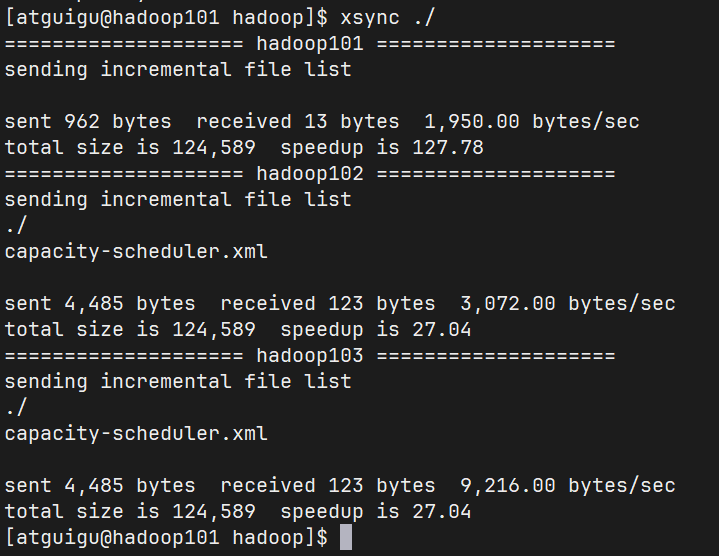
分发配置
重启集群
[atguigu@hadoop101 hadoop]$ myhadoop.sh stop
[atguigu@hadoop101 hadoop]$ myhadoop.sh start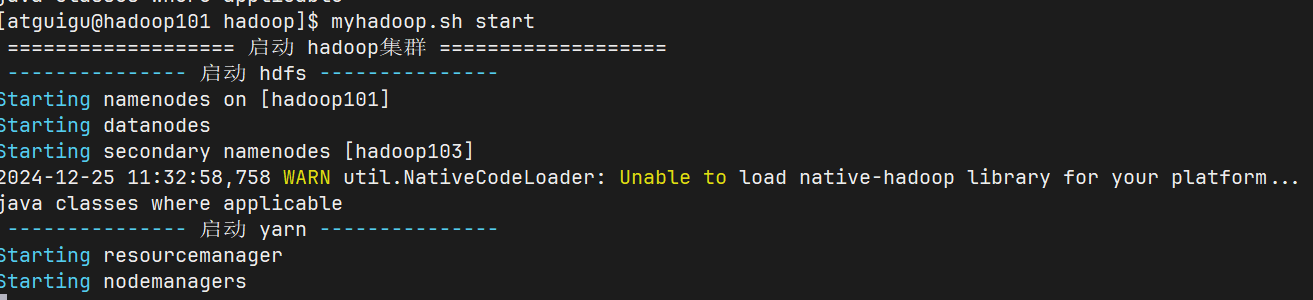
执行WordCount程序
[atguigu@hadoop101 hadoop-3.4.1]$ hadoop jar ./share/hadoop/mapreduce/hadoop-mapreduce-examples-3.4.1.jar wordcount /input /output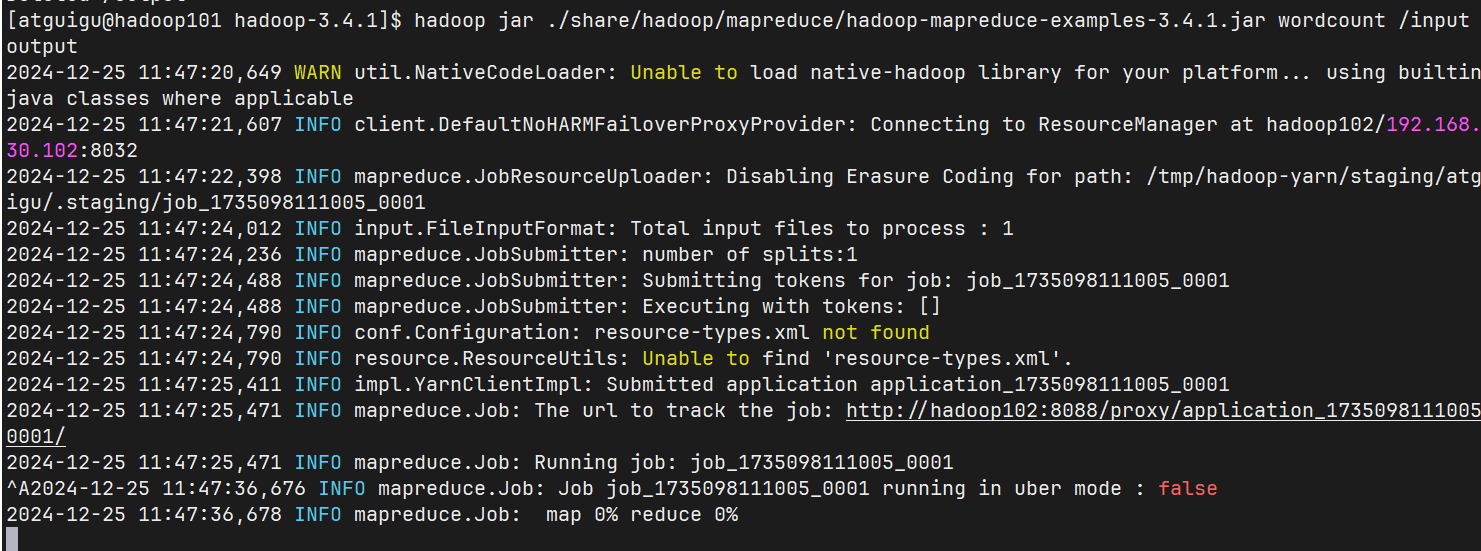
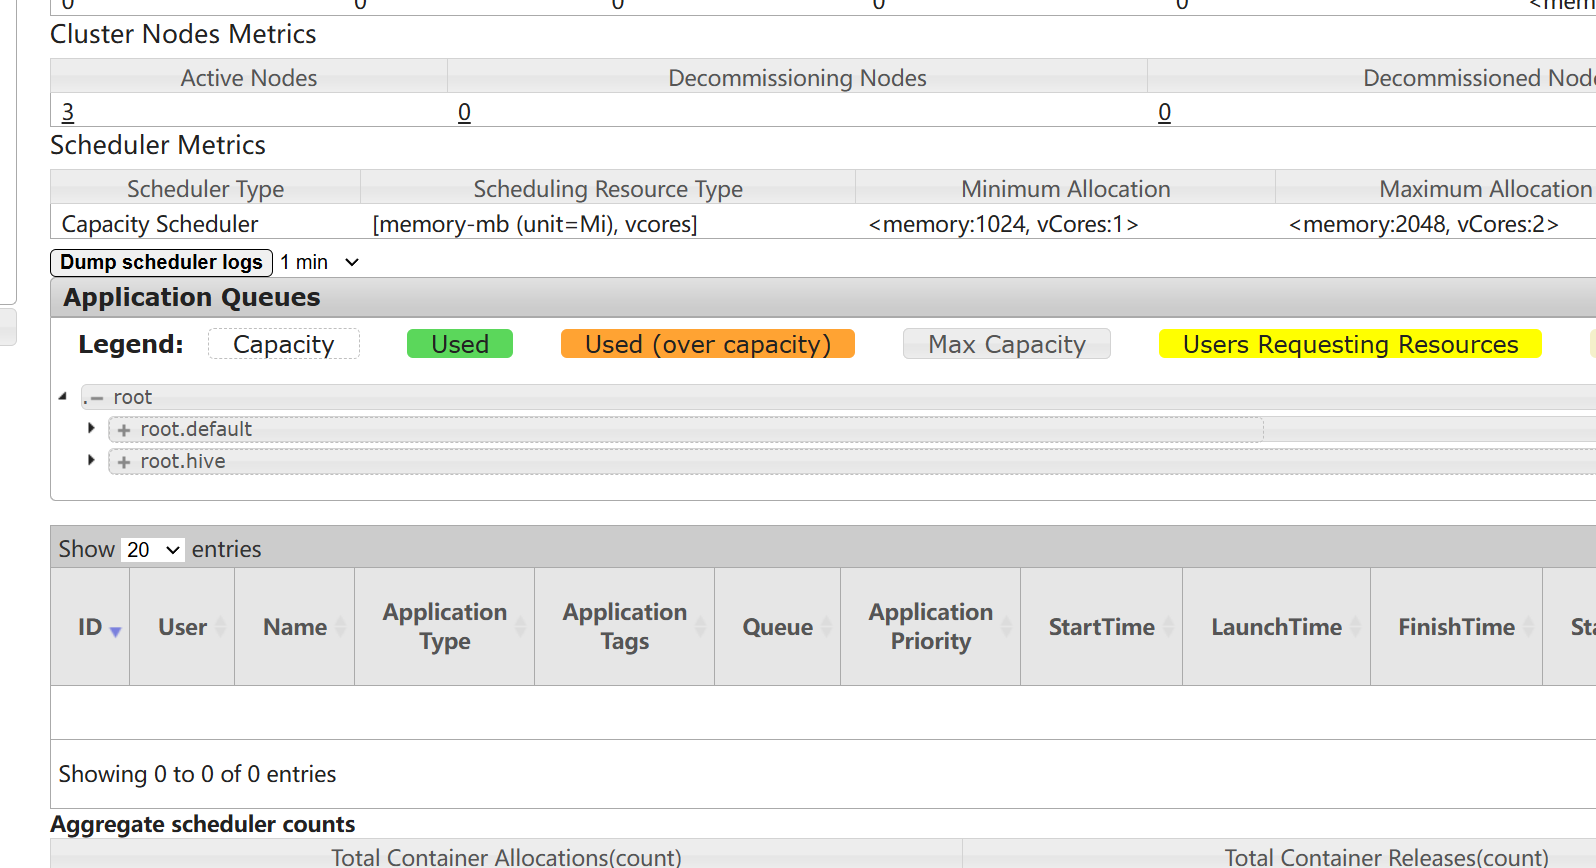
观察Yarn任务执行页面
2.2 容量调度器多队列提交案例
配置多队列的容量调度器
在capacity-scheduler.xml中配置如下:
需要进行修改的
<!-- 指定多队列,增加hive队列 -->
<property>
    <name>yarn.scheduler.capacity.root.queues</name>
    <value>default,hive</value>
    <description>
      The queues at the this level (root is the root queue).
    </description>
</property>

<!-- 降低default队列资源额定容量为40%,默认100% -->
<property>
    <name>yarn.scheduler.capacity.root.default.capacity</name>
    <value>40</value>
</property>

<!-- 降低default队列资源最大容量为60%,默认100% -->
<property>
    <name>yarn.scheduler.capacity.root.default.maximum-capacity</name>
    <value>60</value>
</property>
需要进行添加的
<!-- 指定hive队列的资源额定容量 -->
<property>
    <name>yarn.scheduler.capacity.root.hive.capacity</name>
    <value>60</value>
</property>

<!-- 用户最多可以使用队列多少资源,1表示 -->
<property>
    <name>yarn.scheduler.capacity.root.hive.user-limit-factor</name>
    <value>1</value>
</property>

<!-- 指定hive队列的资源最大容量 -->
<property>
    <name>yarn.scheduler.capacity.root.hive.maximum-capacity</name>
    <value>80</value>
</property>

<!-- 启动hive队列 -->
<property>
    <name>yarn.scheduler.capacity.root.hive.state</name>
    <value>RUNNING</value>
</property>

<!-- 哪些用户有权向队列提交作业 -->
<property>
    <name>yarn.scheduler.capacity.root.hive.acl_submit_applications</name>
    <value>*</value>
</property>

<!-- 哪些用户有权操作队列,管理员权限(查看/杀死) -->
<property>
    <name>yarn.scheduler.capacity.root.hive.acl_administer_queue</name>
    <value>*</value>
</property>

<!-- 哪些用户有权配置提交任务优先级 -->
<property>

<name>yarn.scheduler.capacity.root.hive.acl_application_max_priority</name>
    <value>*</value>
</property>

<!-- 任务的超时时间设置:yarn application -appId appId -updateLifetime Timeout
参考资料:https://blog.cloudera.com/enforcing-application-lifetime-slas
yarn/ -->

<!-- 如果application指定了超时时间,则提交到该队列的application能够指定的最大超时
时间不能超过该值。  -->
<property>
    <name>yarn.scheduler.capacity.root.hive.maximum-application
lifetime</name>
    <value>-1</value>
</property>

<!-- 如果application没指定超时时间,则用default-application-lifetime作为默认
值 -->
<property>
    <name>yarn.scheduler.capacity.root.hive.default-application
lifetime</name>
    <value>-1</value>
</property>
分发配置文件
重启Yarn或者执行yarn rmadmin -refreshQueues刷新队列,就可以看到两条队列:
向Hive队列提交任务
hadoop jar的方式
[atguigu@hadoop101 hadoop-3.4.1]$ hadoop jar ./share/hadoop/mapreduce/hadoop-mapreduce-examples-3.4.1.jar wordcount -Dmapreduce.job.queuename=hive /input /output
任务优先级
修改yarn-site.xml文件,增加以下参数
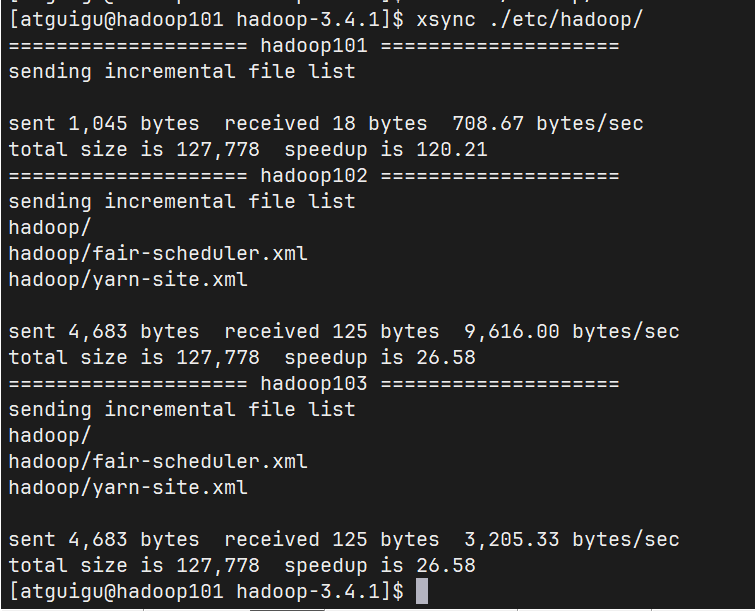
分发配置,并重启Yarn
[atguigu@hadoop101 hadoop-3.4.1]$ xsync ./etc/hadoop/
[atguigu@hadoop101 hadoop-3.4.1]$ myhadoop.sh stop
[atguigu@hadoop101 hadoop-3.4.1]$ myhadoop.sh start
模拟资源紧张环境

再次重新提交优先级高的任务
hadoop jar /opt/module/hadoop-3.4.1/share/hadoop/mapreduce/hadoop-mapreduce-examples-3.4.1.jar pi -D mapreduce.job.priorty=5 5 200000
也可以通过以下命令修改正在执行的任务的优先级。
yarn application -appID application_1611133087930_0009 -updatePriority 5
2.3 公平调度器案例
配置多队列的公平调度器
修改yarn-site.xml文件,加入以下参数
<property>
    <name>yarn.resourcemanager.scheduler.class</name>
	<value>org.apache.hadoop.yarn.server.resourcemanager.scheduler.fair.FairScheduler</value>
    <description>配置使用公平调度器</description>
</property>

<property>
    <name>yarn.scheduler.fair.allocation.file</name>
    <value>/opt/module/hadoop-3.4.1/etc/hadoop/fair-scheduler.xml</value>
    <description>指明公平调度器队列分配配置文件</description>
</property>

<property>
    <name>yarn.scheduler.fair.preemption</name>
    <value>false</value>
    <description>禁止队列间资源抢占</description>
</property>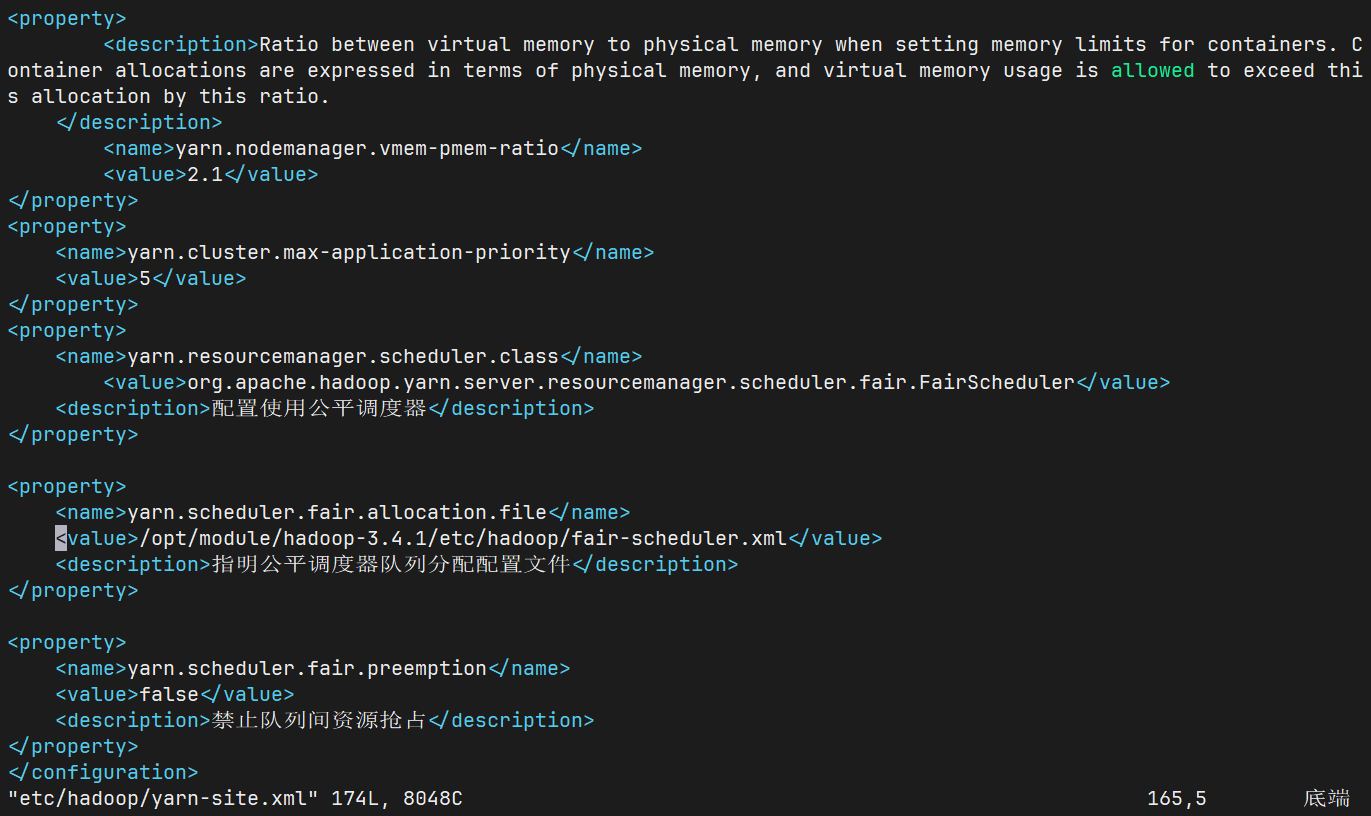
配置fair-scheduler.xml
<?xml version="1.0"?>
<allocations>
  <!-- 单个队列中Application Master占用资源的最大比例,取值0-1 ,企业一般配置0.1 -->
  <queueMaxAMShareDefault>0.5</queueMaxAMShareDefault>
  <!-- 单个队列最大资源的默认值 test atguigu default -->
  <queueMaxResourcesDefault>4096mb,4vcores</queueMaxResourcesDefault>
  <!-- 增加一个队列test -->
  <queue name="test">
    <!-- 队列最小资源 -->
    <minResources>2048mb,2vcores</minResources>
    <!-- 队列最大资源 -->
    <maxResources>4096mb,4vcores</maxResources>
    <!-- 队列中最多同时运行的应用数,默认50,根据线程数配置 -->
    <maxRunningApps>4</maxRunningApps>
    <!-- 队列中Application Master占用资源的最大比例 -->
    <maxAMShare>0.5</maxAMShare>
    <!-- 该队列资源权重,默认值为1.0 -->
     <weight>1.0</weight>
    <!-- 队列内部的资源分配策略 -->
    <schedulingPolicy>fair</schedulingPolicy>
  </queue>
  <!-- 增加一个队列atguigu -->
  <queue name="atguigu" type="parent">
    <!-- 队列最小资源 -->
    <minResources>2048mb,2vcores</minResources>
    <!-- 队列最大资源 -->
    <maxResources>4096mb,4vcores</maxResources>
    <!-- 队列中最多同时运行的应用数,默认50,根据线程数配置 -->
    <maxRunningApps>4</maxRunningApps>
    <!-- 队列中Application Master占用资源的最大比例 -->
    <maxAMShare>0.5</maxAMShare>
    <!-- 该队列资源权重,默认值为1.0 -->
    <weight>1.0</weight>
    <!-- 队列内部的资源分配策略 -->
    <schedulingPolicy>fair</schedulingPolicy>
  </queue>

  <!-- 任务队列分配策略,可配置多层规则,从第一个规则开始匹配,直到匹配成功 -->
  <queuePlacementPolicy>
    <!-- 提交任务时指定队列,如未指定提交队列,则继续匹配下一个规则; false表示:如果指定队列不存在,不允许自动创建-->
    <rule name="specified" create="false"/>
    <!-- 提交到root.group.username队列,若root.group不存在,不允许自动创建;若root.group.user不存在,允许自动创建 -->
    <rule name="nestedUserQueue" create="true">
        <rule name="primaryGroup" create="false"/>
    </rule>
    <!-- 最后一个规则必须为reject或者default。Reject表示拒绝创建提交失败,default表示把任务提交到default队列 -->
    <rule name="reject" />
  </queuePlacementPolicy>
</allocations>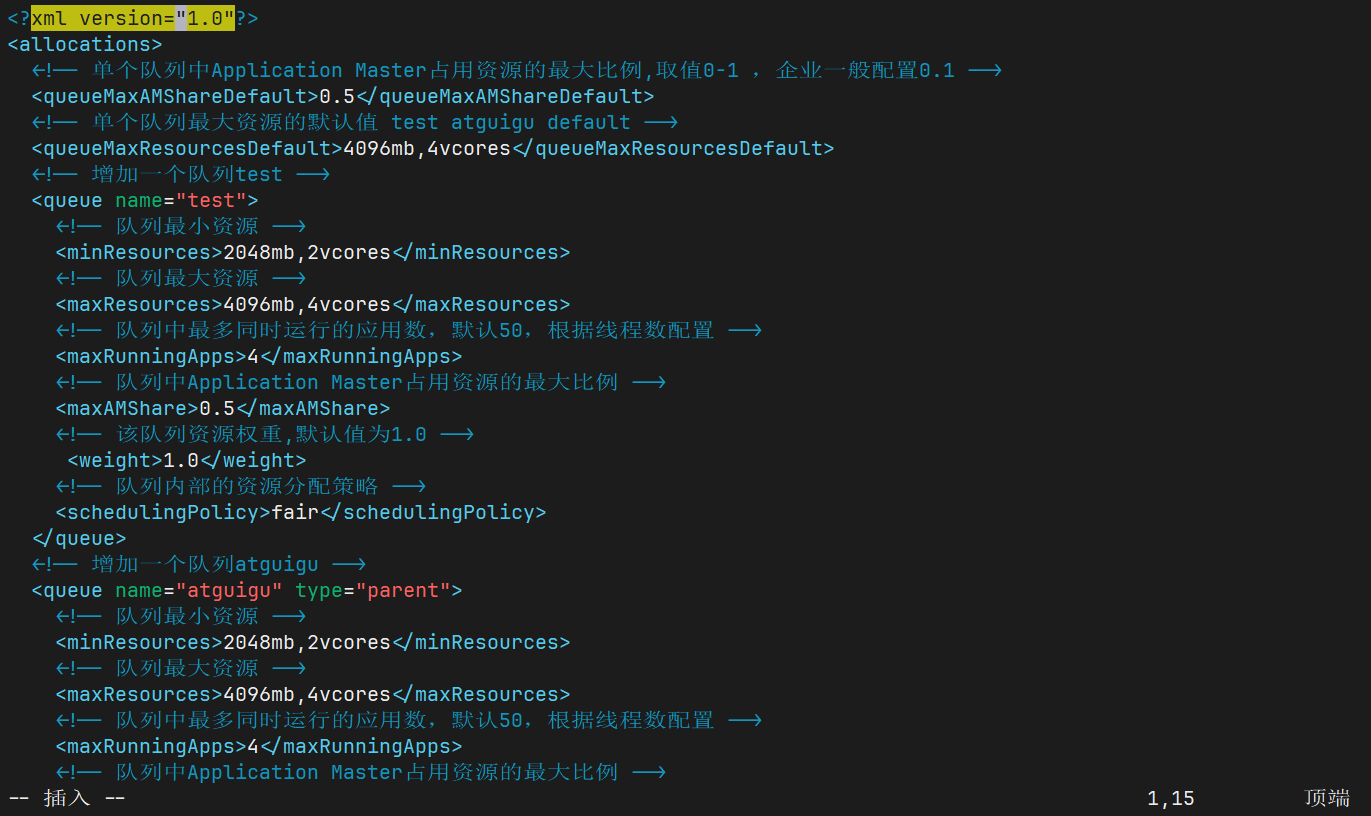
分发配置并重启Yarn
[atguigu@hadoop101 hadoop]$ myhadoop.sh stop
[atguigu@hadoop101 hadoop]$ myhadoop.sh start
测试提交任务
提交任务时指定队列,按照配置规则,任务会到指定的root.test队列
hadoop jar /opt/module/hadoop-3.4.1/share/hadoop/mapreduce/hadoop-mapreduce-examples-3.4.1.jar pi -Dmapreduce.job.queuename=root.syb 1 1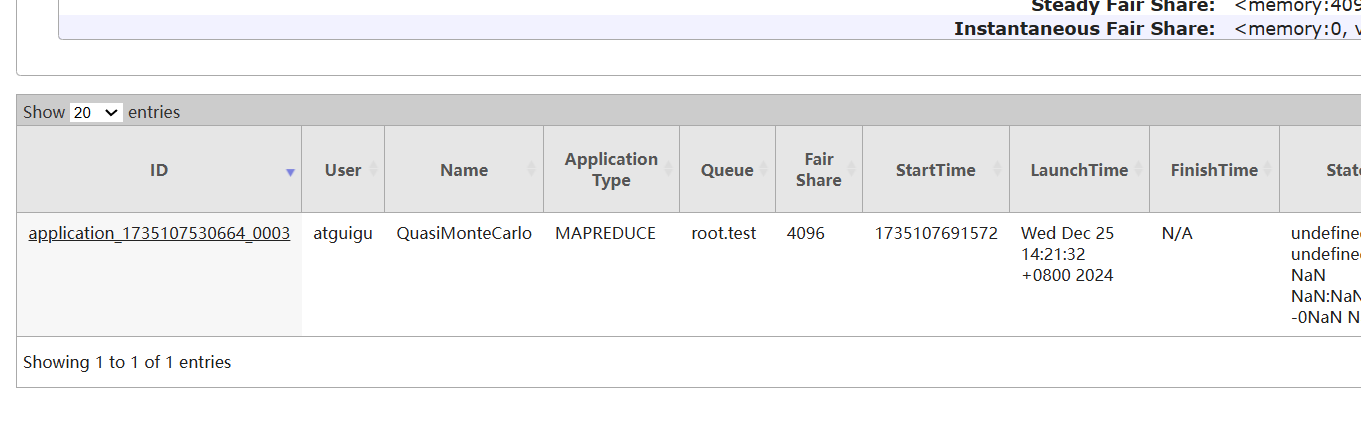
提交任务时不指定队列,按照配置规则,任务会到root.atguigu.atguigu队列
